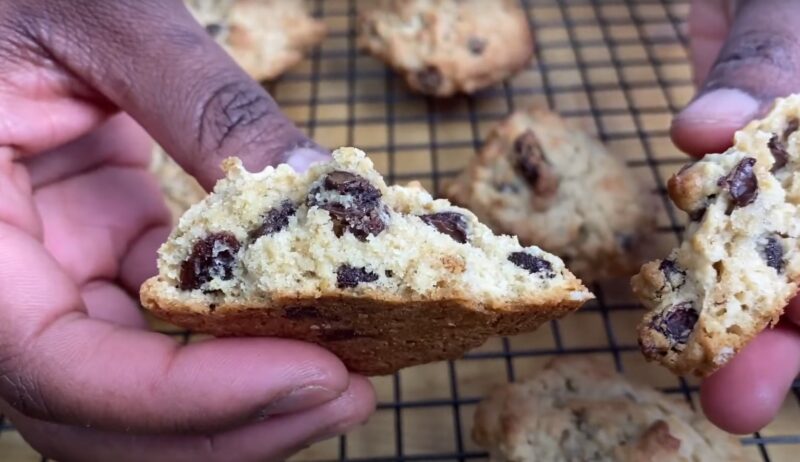
Rock Cakes, also known as Rock Buns, are traditional British treats that resemble rocks in appearance but delight the palate with their tender, crumbly texture. Originating from the UK, these cakes have gained popularity worldwide for their simplicity and deliciousness. These are the perfect blend of simplicity and indulgence, making them a favorite for all occasions.
Double Chocolate Rock Cakes are a twist on the classic British treat. These treats stand out for their rich flavor and texture. Incorporating both cocoa powder and chocolate chunks, they offer a deep chocolate taste with a pleasant surprise of gooey chocolate with every bite.
If you’ve been wondering how to make these, here’s our favorite recipe.
How to Make Them?
Ingredients:
- 195 grams of plain/all-purpose flour (1 and 1/2 cups)
- 30 grams cocoa powder (2/8 cup)
- 1 teaspoon baking powder
- 1 teaspoon baking soda
- ½ teaspoon salt
- 125 grams unsalted butter (1 stick + 1 tablespoon)
- 75 grams granulated sugar (3/8 cup)
- 100 grams dark (semi-sweet chocolate chips ) (1/2 cup)
- 1 large egg – lightly beaten
- 2 – 4 tablespoons milk
Step-by-step-guide
| Prep Time | 10 minutes |
| Cook Time | 15 minutes |
| Total Time | 25 minutes |
| Servings | 10 cakes |
| Calories | 255 kcal |
- Preheat your oven to 200C / 400F / Gas mark 6 and line a large baking sheet with baking parchment or use a silicone baking mat and place to one side.
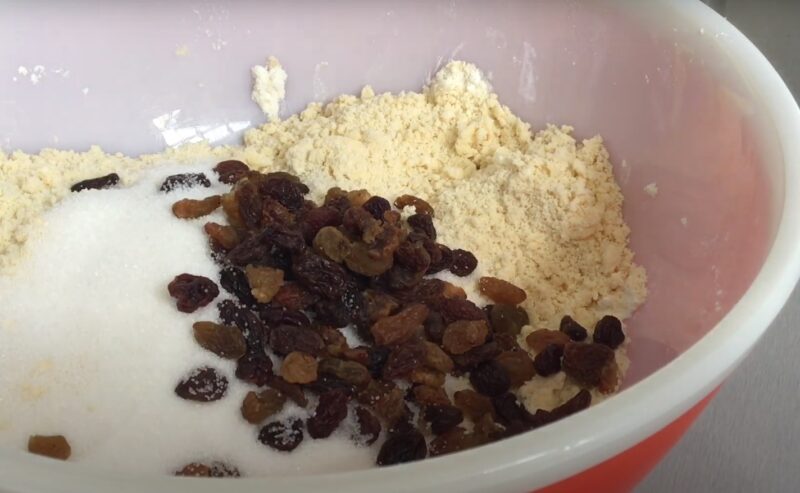
- In a large mixing bowl add the flour, cocoa powder, baking powder, baking soda, and salt, and give a little mix to combine everything.
- Rub the butter into the flour mix until it looks like fine breadcrumbs (or you can use a food processor if you want).
- Add in the sugar and chocolate chips and give a little stir to mix it all together.
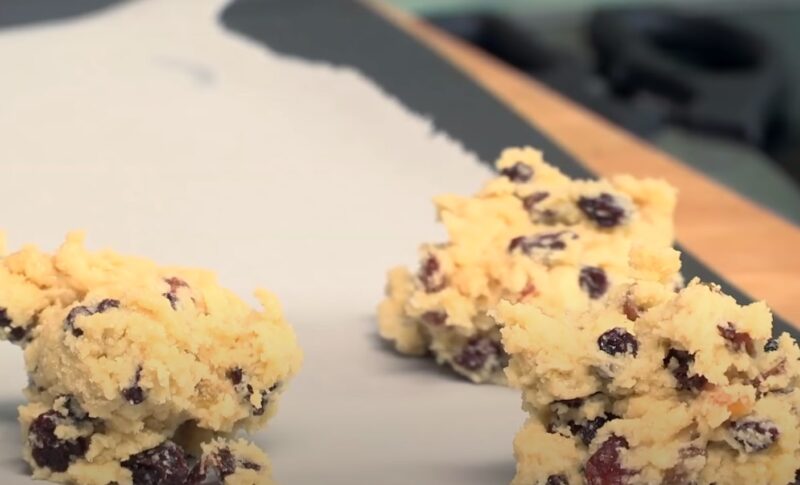
- Pour in the lightly beaten egg and gently stir to bring it all together. Add in the milk a little at a time, you just need enough to bring the mixture together. You don’t want it to be a super sticky dough.
- Scoop out the mixture into 10 equal sizes onto your baking sheet (they don’t have to be perfect, that’s the beauty of this treat!).
- Sprinkle a little sugar on top if you like an extra little crunch and pop them in your hot oven for 15 to 20 minutes.
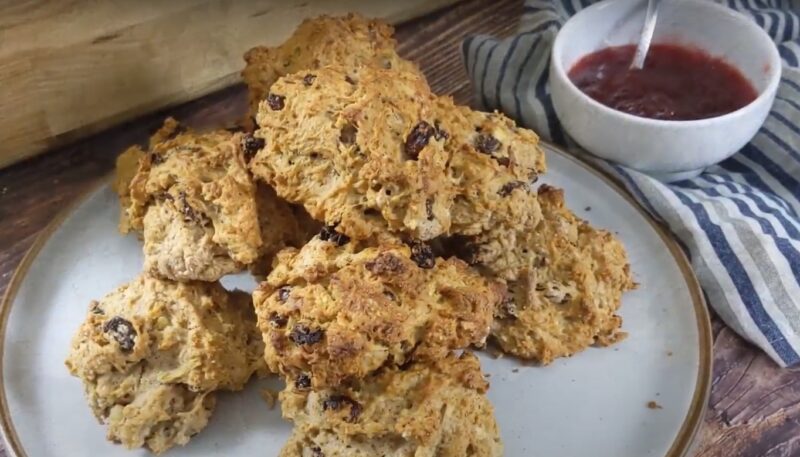
- Check on them after 15 minutes, they should sound a little hollow if tapped on the bottom.
- Transfer them to a wire rack to fully cool down.
- Enjoy!
Additional Tips:
- Experiment with different types of chocolate, such as white chocolate or flavored chocolates, to find your perfect match.
- For an extra layer of flavor and texture, consider adding nuts like walnuts or pecans, or dried fruit such as cherries or raisins.
- These cakes are best enjoyed fresh but can be stored in an airtight container for up to 3 days.
Nutrition Facts

| Nutrition Facts | Amount Per Serving (1 cake) |
|---|---|
| Calories | 255 |
| Calories from Fat | 134 |
| Fat | 14.9g |
| Saturated Fat | 9g |
| Cholesterol | 46mg |
| Sodium | 324mg |
| Carbohydrates | 30.2g |
| Fiber | 2.1g |
| Sugar | 12.1g |
| Protein | 4.1g |
Serving Ideas
Here are some creative and delicious ways to serve these cakes, making your treat even more special:
1. With a Dollop of Cream: Serve your dessert with a dollop of whipped cream or clotted cream on the side. The creaminess complements the rich chocolate flavor, balancing the sweetness and adding a luxurious texture.
2. Ice Cream Pairing: Pair a warm rock cake with a scoop of your favorite ice cream. Vanilla ice cream is a classic choice that goes well with chocolate but don’t shy away from trying flavors like salted caramel, cherry, or mint chocolate chip for a delightful contrast.
3. Coffee or Tea: These cakes are perfect with a cup of coffee or tea. The bitterness of coffee or the subtlety of tea makes a great match for the sweet, chocolaty richness of the cakes. Serve them at your next afternoon tea or coffee break for a satisfying treat.
4. Chocolate Sauce Drizzle: For an extra chocolatey experience, drizzle your cakes with warm chocolate sauce before serving. This not only adds to the flavor but also makes for an enticing presentation.
5. Berry Compote: The deep chocolate flavor of these cakes pairs wonderfully with the tanginess of a berry compote. Serve your dessert with a side of mixed berry compote for a refreshing and slightly tangy contrast that cuts through the richness of the chocolate.
6. Dust with Icing Sugar: For a simple yet elegant touch, dust your double chocolate rock cakes with icing sugar just before serving. This adds a beautiful finish and a slight sweetness that complements the deep chocolate flavors.
7. Nutty Crunch: Sprinkle chopped nuts such as almonds, walnuts, or hazelnuts over your cakes for added texture and a nutty flavor. This not only enhances the taste but also adds a delightful crunch.
8. Dessert Charcuterie Board: Create a dessert charcuterie board featuring your double chocolate rock cakes along with an assortment of cheeses, fruits, nuts, and other baked goods. This allows for a variety of flavors and textures, making for a fun and interactive dessert experience.
FAQs
Can I use self-rising flour instead of all-purpose flour for this recipe?
Absolutely. If you do, omit the baking powder and baking soda from the recipe since self-rising flour already contains these leavening agents. However, keep an eye on the texture and rise as the ratio of leavening agent to flour in self-rising flour might slightly differ from what this recipe requires.
How can I make these rock cakes vegan?
To make these treats vegan, substitute the butter with a plant-based alternative, use a flax egg (1 tablespoon ground flaxseed mixed with 3 tablespoons water, left to sit for 5 minutes) instead of a regular egg, and ensure your chocolate chips are dairy-free.
Also, swap the milk for a non-dairy alternative like almond or soy milk.
What’s the best way to store these rock cakes to keep them fresh?
Store the rock cakes in an airtight container at room temperature to keep them fresh. If you prefer them a bit crispy, you can leave them slightly uncovered, but they might dry out faster. They are best enjoyed within 3 days of baking.
Can I freeze these rock cakes?
Yes, they freeze well. Once they have cooled completely, wrap them individually in cling film or place them in a single layer in a freezer-safe bag or container. They can be frozen for up to 3 months. Thaw at room temperature or gently warm them in the oven before serving.
How can I ensure my rock cakes have a perfect crumbly texture?
To achieve a perfect crumbly texture, make sure not to overmix the dough once you add the wet ingredients to the dry ingredients. Mix just until the dough comes together. Overmixing can lead to gluten development, making the cakes tougher rather than crumbly.
Can I add fresh fruit to the mixture, and if so, how should I adjust the recipe?
Yes, you can add fresh fruit like raspberries or chopped strawberries to the mixture. Since fresh fruit can add moisture to the dough, reduce the amount of milk you initially add. Start with 1 tablespoon of milk and only add more if the dough seems too dry.
Be careful not to crush the fruit when mixing it into the dough.
Final Words
I had so much fun making these, and I’ll definitely make them again. I suggest serving them with a glass of milk, or a cup of coffee. As you’ve seen, there’s nothing fancy or extravagant about this recipe-just good old-fashioned ingredients.